Installation Tips
Detailed installation and start-up instructions are provided in each SCANLAB scan system's user manual. Here, we offer some additional, general tips.

Mechanical
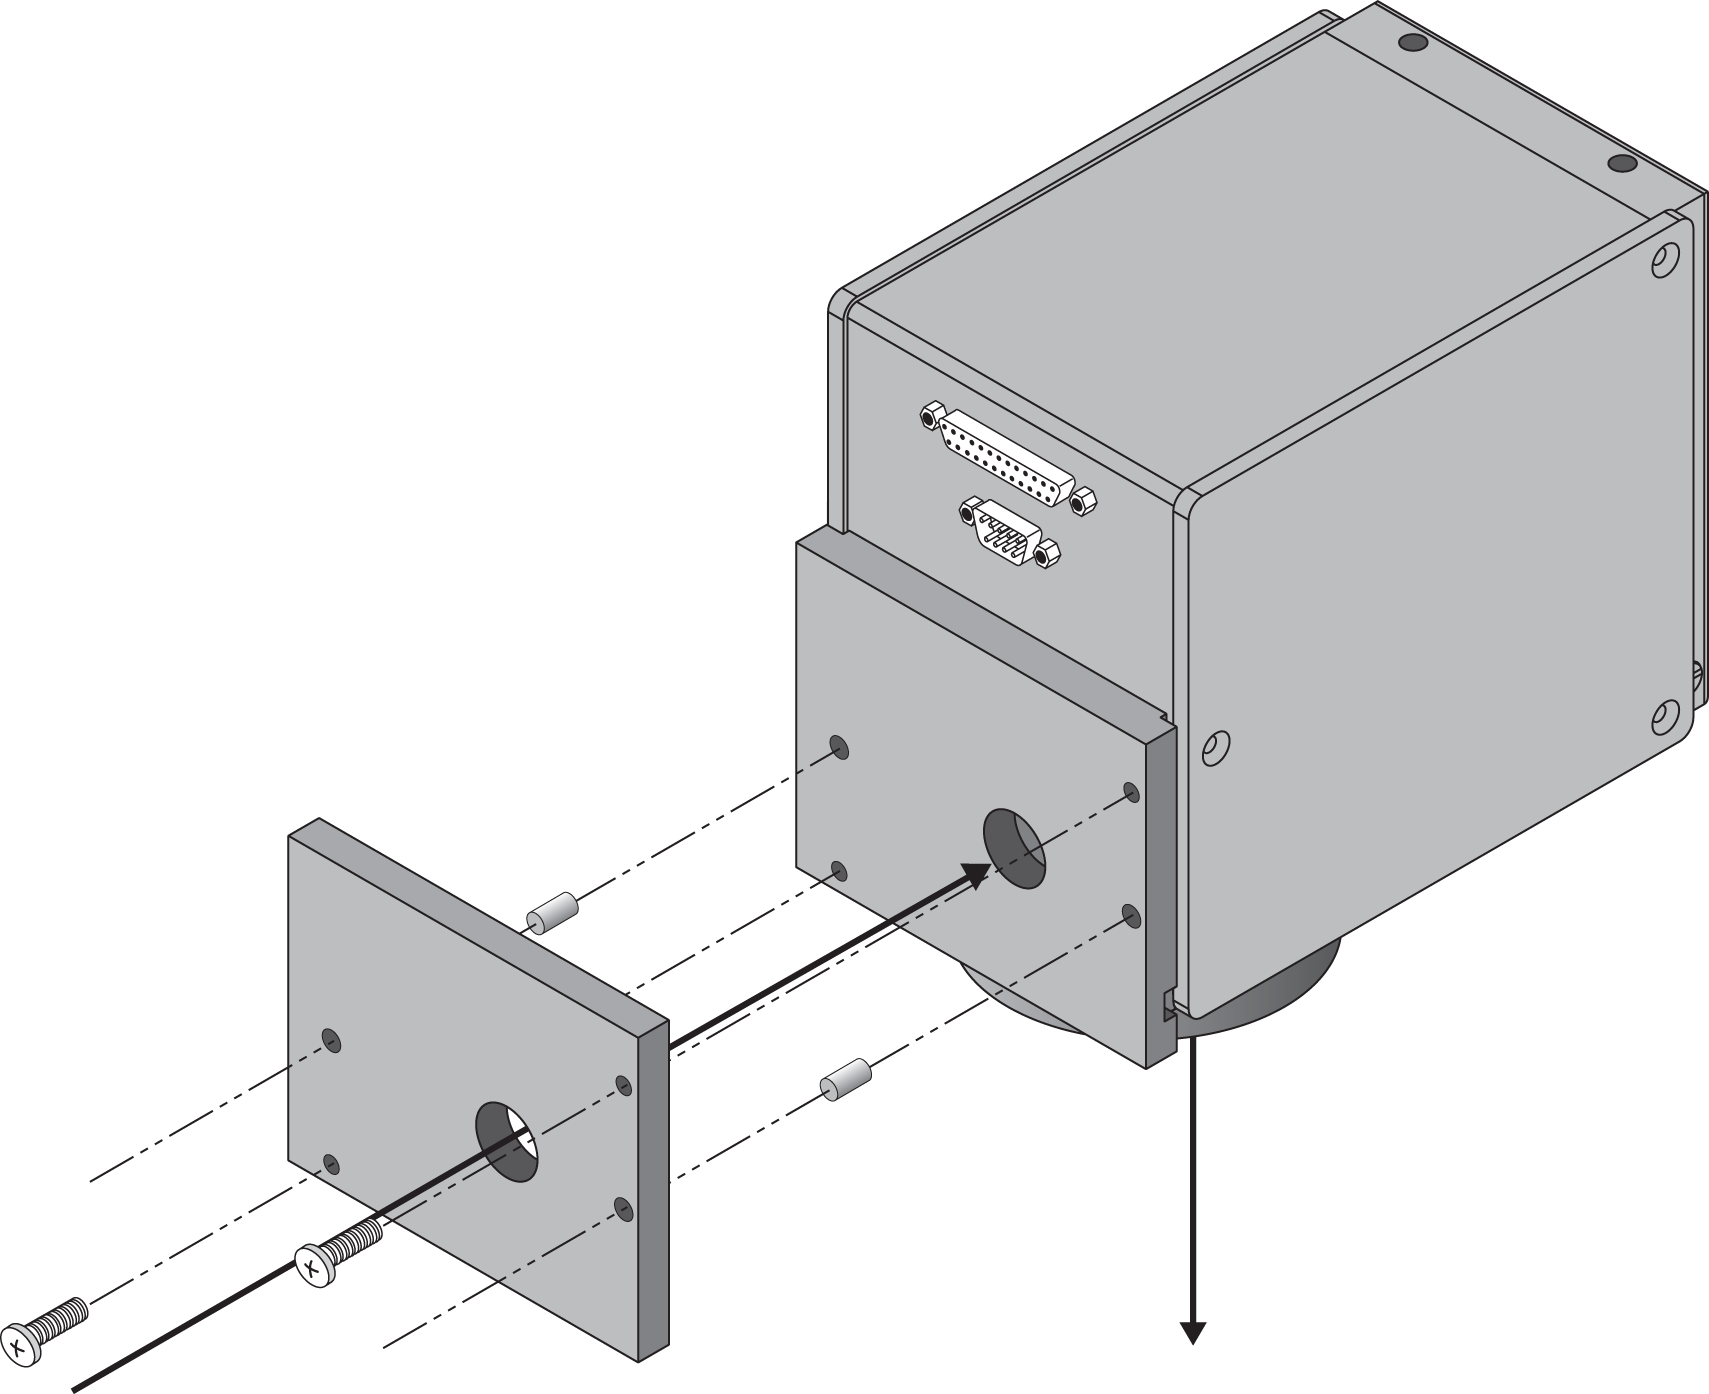
SCANLAB's scan systems can be easily and quickly attached to an appropriate mounting flange* via alignment pins* and screws*. The overall system should be constructed so as to minimize the scan system's exposure to environmental fluctuations and mechanical vibration. It is also important to provide good thermal coupling to the overall system and thus ensure stable operating conditions.
Electrical
Operating a scan system requires not only a controller, but also a stable power source. Depending on the model, SCANLAB's scan systems require ±15 V, 30 V or ±24 V power supplies; maximum current draw ranges from 1.5 to 6 A. We'll gladly answer your inquiries about power supplies* appropriate for SCANLAB's scan systems.
When configuring cables and connectors, make sure to choose appropriate cable lengths, cross sections and shielding.
If electronics are not already integrated in a shielded housing, then they must be securely mounted, electromagnetically shielded and protected against moisture and contamination. When installing, observe all ESD directives and ensure that the electronics are not exposed to excessive temperatures.

Optical
For optimal results, the scan system's aperture should be maximally utilized. This ensures a small spot (and thus a high power density) – and reduces laser loading of the mirrors. To achieve this, a beam expander* might be required.
Furthermore, the beam path must be properly aligned and the objective correctly mounted.
Wherever possible, care must be taken to avoid contamination of the optical elements e.g. from process fumes or dust. This is especially important for high-power, ultra-short-pulse (USP) or deep-UV applications. Possible means include encapsulating housings, the use of exchangeable protective windows or air knives.

* not included in the delivered product


